How I Built My Own Blogging Site with Sanity and Next
4 mins read
I’m not a writer. I’m not even good at writing articles or stuff like this—I just love learning new things and building personal projects. But the problem is, I tend to forget what I learned after a while. My way of remembering is to write things down, post them as blogs, and share them on social media.
Since most recruiters don’t really look at certifications anymore, they usually assess how a developer solves problems. I figured that just building projects without documenting what I learned or the problems I solved wasn’t enough. Writing and posting blogs became my way of making some noise on LinkedIn (and eventually, it worked—I did land a job, I think 😅).
For posting, I usually go to dev.to. It’s free, fast, and has a straightforward markdown editor. I’ve been posting there for almost a year now. To be honest, I don’t get a lot of views, but that’s fine—I don’t write for views. I write so that I can remember what I’ve learned.
Now, I’m not sure if every developer has this “toxic trait,” but whenever I see a cool app, a profitable website, or an impressive backend system design, I get this thought: “I can do better than this.” That pride (or ego, really) pushed me to create my own blogging site—something personal, simple, and intuitive.
Thought Process
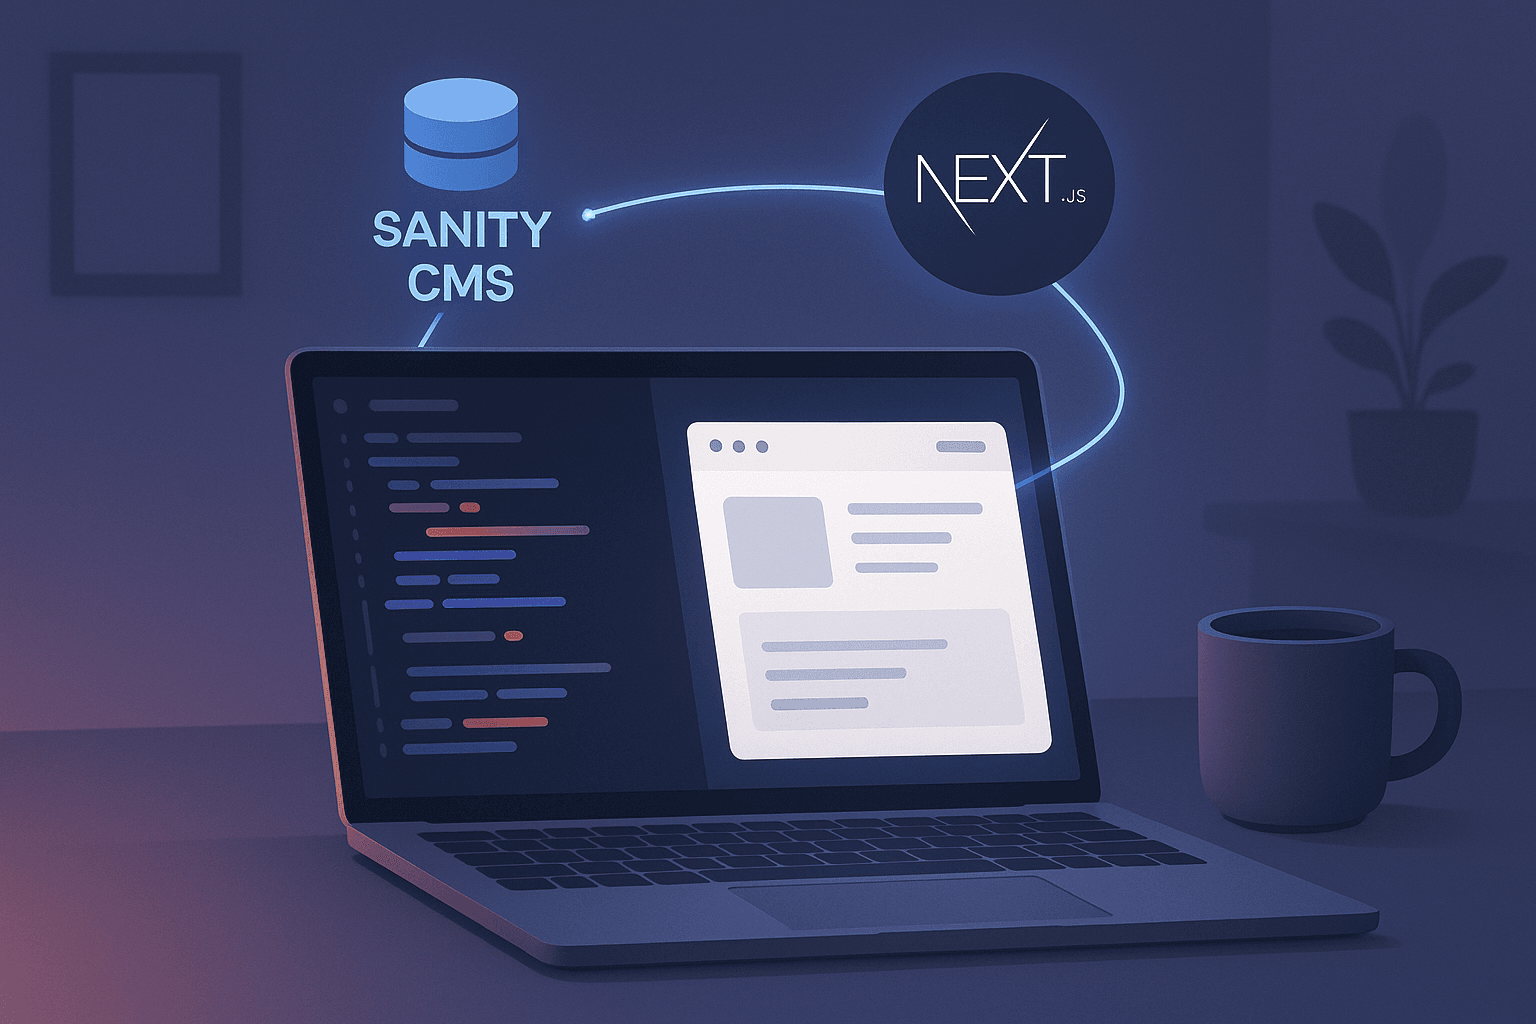
I only needed two things: a front end and a CMS (Content Management System).
Since I’m a frontend developer, the choice for frontend was easy—I went with Next.js. For the CMS, I considered WordPress, but based on experience, it comes with too many drawbacks:
- Vulnerability
- WordPress is a frequent target for hackers, leading to risks like data breaches and malware. Even though this is just a simple blog, I still care about vulnerabilities.
- Plugins
- I’m not a fan. Most are heavy and overwhelming.
- Limited flexibility
- Sure, WordPress has tons of options, but it’s still restrictive when it comes to design. I didn’t want my blog to look like an e-commerce site.
- File structure
- If I went all in on design customization, I’d have to edit themes. Last time I did that, I got lost in thousands of files just trying to find the page I needed (probably a skill issue, but still).
So, I kept looking. Eventually, I stumbled across a Fireship.io video about Headless CMS—and that’s where things clicked.
What is a Headless CMS?
According to Contentful.com:
A headless CMS is a content management system that separates the presentation layer (where content is presented) from the backend (where content is managed). A headless CMS allows you to manage content in one place and deploy it on any digital channel you choose. Separating the frontend from the backend unlocks your content, making it easier for marketers to manage content independently, and for developers to build faster, automate changes, and manage digital at scale.
In simpler terms: it’s just the backend CMS—you build your own frontend (your “head”).
Sanity is one of those headless CMSs. It handles content management (storing, modeling, authoring) and exposes it through an API (GROQ). It’s programmable, customizable, and lets developers build unique workflows while giving teams a unified content system.
For me, Sanity + Next.js became the perfect combo.
Setup
Sanity has a quickstart guide that makes it easy to connect with Next.js.
Setting up your studio
The Studio is where you’ll manage your CMS—in my case, where I’ll post blogs, tags, categories, and more.

- Create a new studio with Sanity CLI
bashnpm create sanity@latest --dataset production --template clean --typescript --output-path studio-hello-world
cd studio-hello-world
2. Run Sanity Studio Locally
bashnpm run dev
3. Login to the Studio
Login to the studio by opening http://localhost:3333 in your browser.
Defining a Schema
I only needed three document types: Post, Author, and Tags, each with different fields.
To create a schema, go to /schemaTypes and edit postType.ts. Here’s mine:
javascriptimport { defineField, defineType } from 'sanity'
import { DocumentsIcon } from '@sanity/icons'
export default defineType({
name: 'post',
title: 'Post',
type: 'document',
icon: DocumentsIcon,
fields: [
defineField({
name: 'title',
title: 'Title',
type: 'string',
validation: rule => rule.required()
}),
defineField({
name: 'slug',
title: 'Slug',
type: 'slug',
options: {
source: 'title',
maxLength: 96,
},
validation: rule => rule.required()
}),
defineField({
name: 'author',
title: 'Author',
type: 'reference',
to: { type: 'author' },
validation: rule => rule.required()
}),
defineField({
name: 'mainImage',
title: 'Main image',
type: 'image',
options: {
hotspot: true,
},
validation: rule => rule.required()
}),
defineField({
name: 'tags',
title: 'Tags',
type: 'array',
of: [{ type: 'reference', to: { type: 'tags' } }],
validation: rule => rule.required().min(1).max(5)
}),
defineField({
name: 'publishedAt',
title: 'Published at',
type: 'datetime',
}),
defineField({
name: 'body',
title: 'Body',
type: 'blockContent',
validation: rule => rule.required()
}),
],
preview: {
select: {
title: 'title',
author: 'author.name',
media: 'mainImage',
},
prepare(selection) {
const { author } = selection
return { ...selection, subtitle: author && `by ${author}` }
},
},
})
After that, I did the same for the other schemas and registered them in index.ts:
javascriptimport {postType} from './postType'
import {authorType} from './authorType'
import {tagsType} from './tagsType'
export const schemaTypes = [postType, authorType, tagsType]
Displaying Content in Next.js
- Create a new Next.js app
(Skip if you already have one.) - Install Sanity dependencies
bashnpm install --legacy-peer-deps next-sanity @sanity/image-url
3. Configure the Sanity client
Inside src/sanity/client.ts:
javascriptimport { createClient } from "next-sanity";
export const client = createClient({
projectId: "YOUR-PROJECT-ID",
dataset: "production",
apiVersion: "2024-01-01",
useCdn: false,
}); 4. Fetch and display posts
Now you can query posts and render them:
javascriptimport Link from "next/link";
import { type SanityDocument } from "next-sanity";
import { client } from "@/sanity/client";
const POSTS_QUERY = `*[
_type == "post"
&& defined(slug.current)
]|order(publishedAt desc)[0...12]{_id, title, slug, publishedAt}`;
const options = { next: { revalidate: 30 } };
export default async function IndexPage() {
const posts = await client.fetch<SanityDocument[]>(POSTS_QUERY, {}, options);
return (
<main className="container mx-auto min-h-screen max-w-3xl p-8">
<h1 className="text-4xl font-bold mb-8">Posts</h1>
<ul className="flex flex-col gap-y-4">
{posts.map((post) => (
<li className="hover:underline" key={post._id}>
<Link href={`/${post.slug.current}`}>
<h2 className="text-xl font-semibold">{post.title}</h2>
<p>{new Date(post.publishedAt).toLocaleDateString()}</p>
</Link>
</li>
))}
</ul>
</main>
);
}
And that’s it! 🎉 Now I can create and publish blogs directly from my own site.
In fact, if you’re reading this—you’re already on my blogging site. But you can also check it out here:
👉 https://www.coffee-driven.dev
Written by